Permanent modes
Story stages, Badge Dojo, Boss Challenge, and Zobo Horde.
The revised guide by 一瓶矿泉水oO, translated and reflowed from the core loop and resources to T2/T3 priorities and a practical stage-pushing formula.
The author, 一瓶矿泉水oO (Xiaoshui), creates Clash of Critters guides under the same name across social platforms. The core loop is to play marbles, earn candy and event items, and turn those resources into Tatari progression.
Story stages, Badge Dojo, Boss Challenge, and Zobo Horde.
They rotate every three days. A regular teammate is recommended. Usually the final day forms teams for the next event; Camp Treasure Hunt teams up on the same day.
Island and Grand Gold Rush are the main auto-battle PVP modes. Grand League Gold Rush follows every three Island rounds.
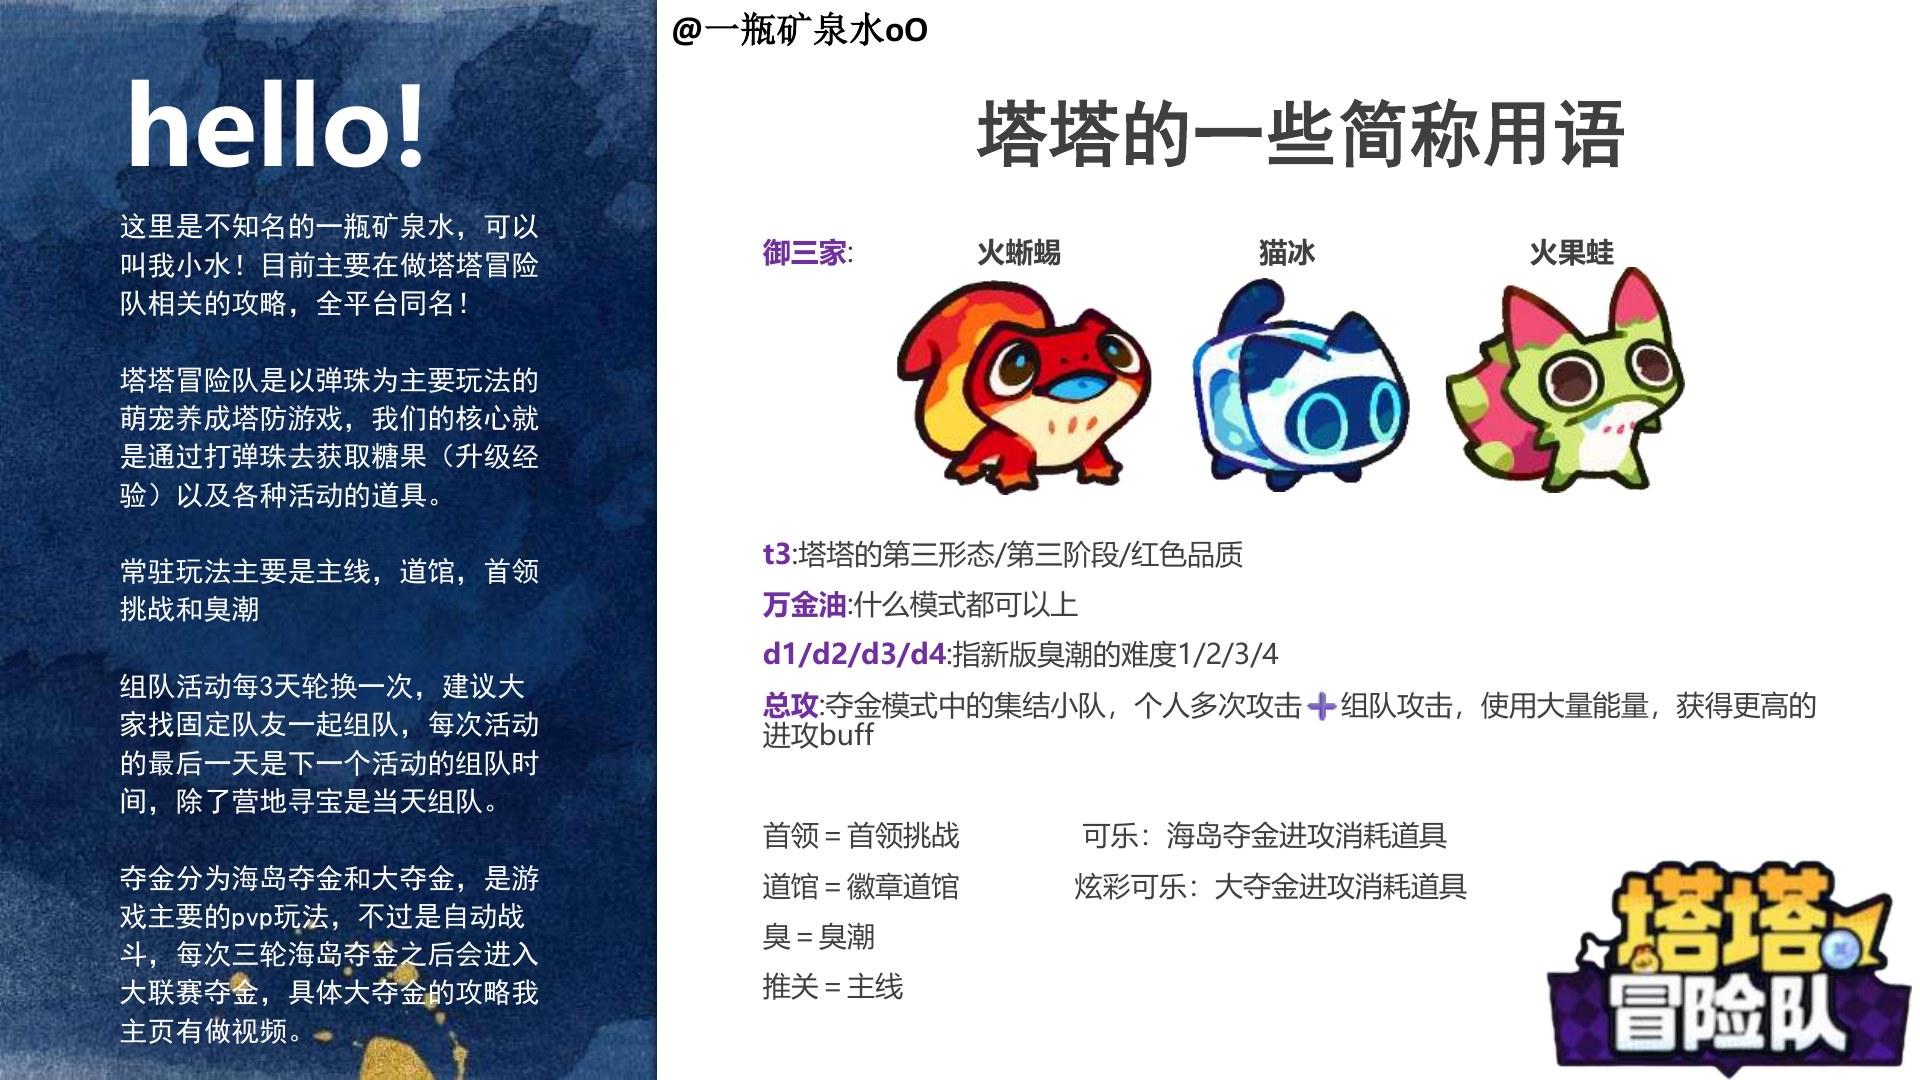
These terms recur in guides, team discussions, and event chat.
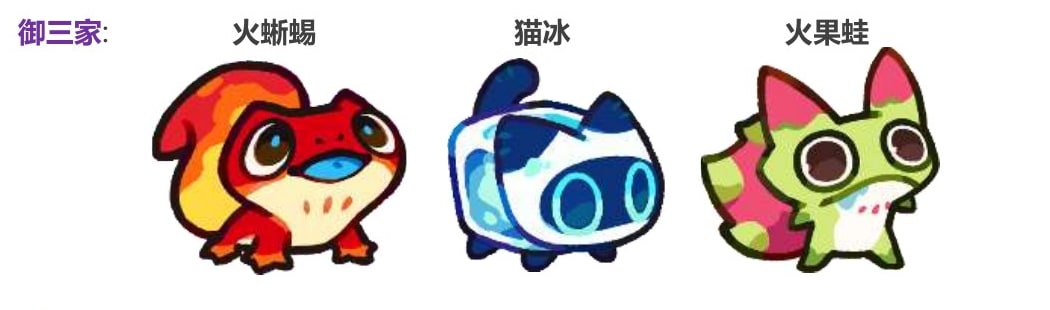
Fire Lizard, Cat Ice, and Firefruit Frog.
A Tatari’s third form/stage, shown as red quality.
A pick that works in almost every mode.
Difficulty levels 1–4 in the updated Zobo Horde.
A Gold Rush rally: repeated personal attacks plus a team attack, spending substantial energy for a stronger offensive buff.
Short for Boss Challenge, Badge Dojo, Zobo Horde, and story-stage pushing.
Attack consumables for Island and Grand Gold Rush, respectively.
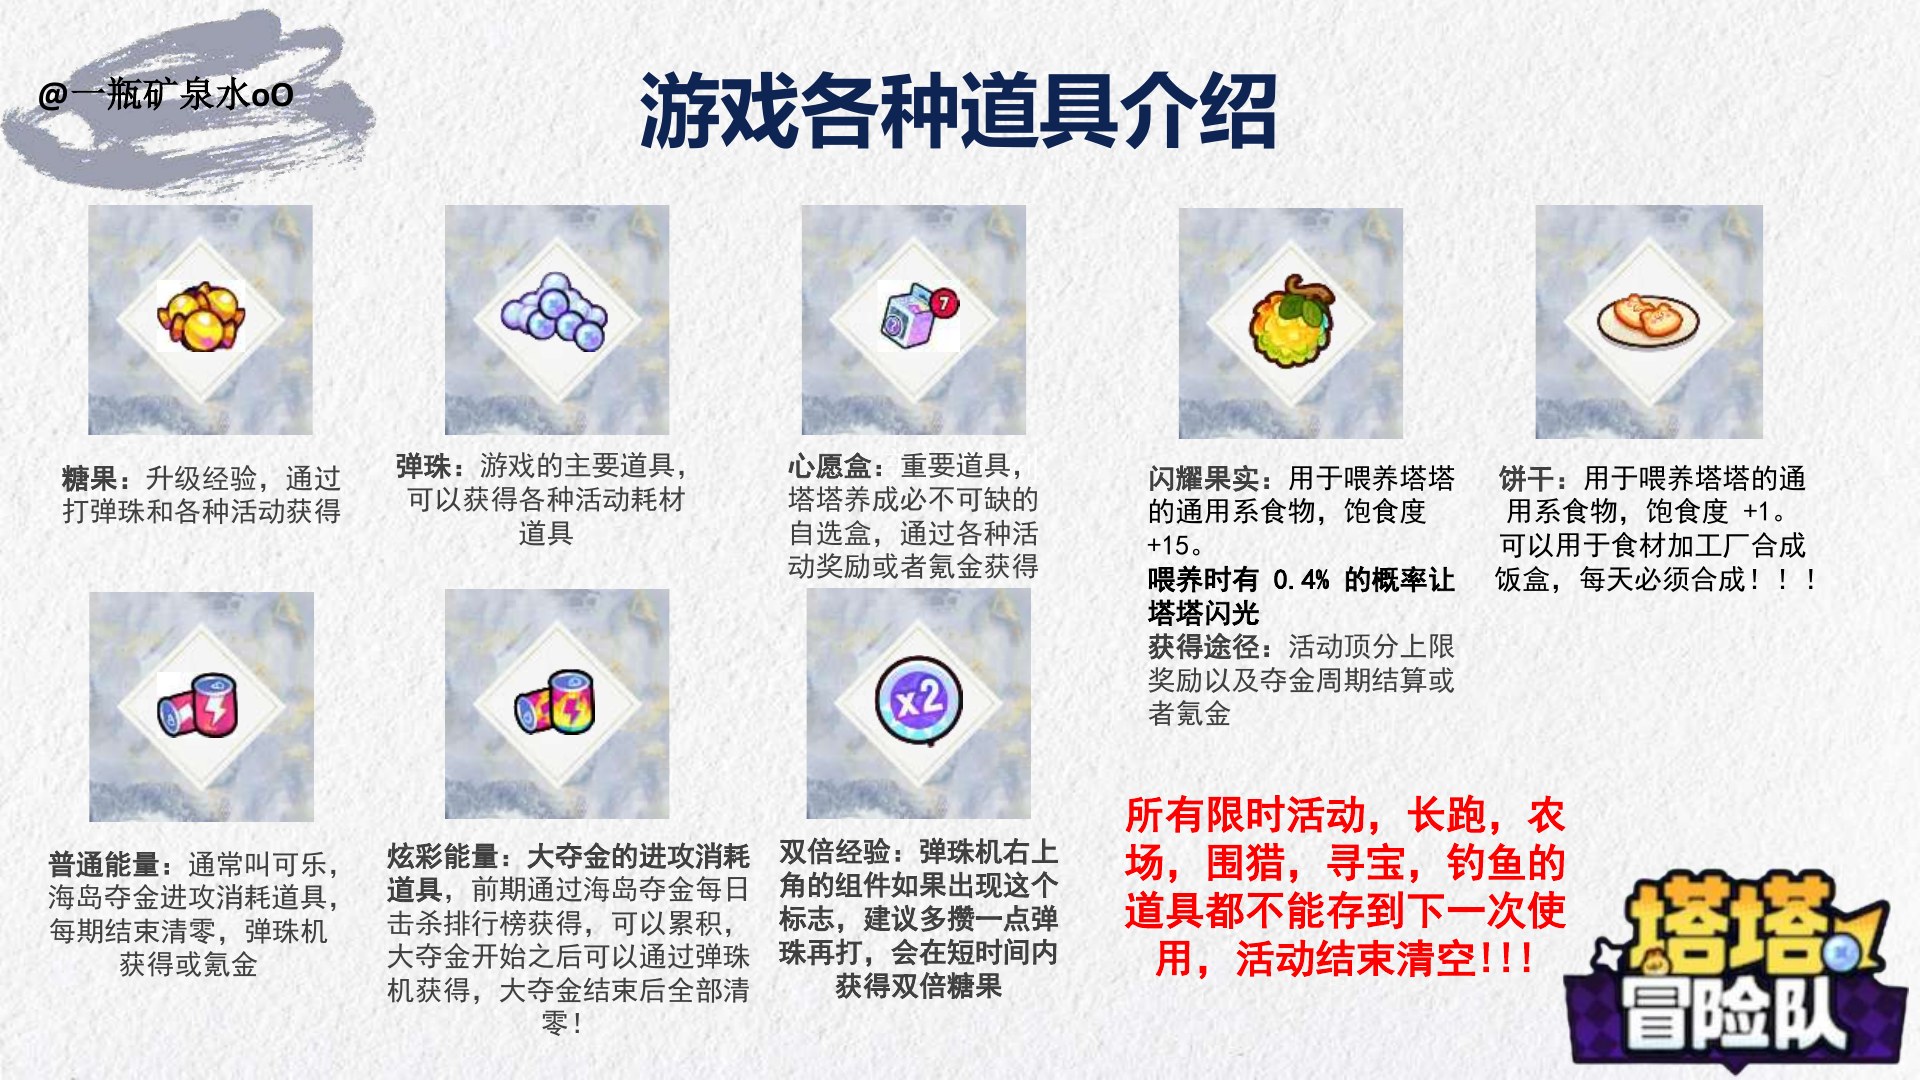
Separate permanent progression resources from event consumables and temporary items that expire.
Level-up experience earned from marbles and events.
The main game item, used to obtain event consumables.
Essential selectable boxes earned from events or purchases.
Universal food worth +15 satiety, with a 0.4% chance to make a Tatari shiny.

Universal food worth +1 satiety. It can be processed into lunch boxes; the author recommends crafting them daily.
Attack energy for Island Gold Rush; it resets each cycle.
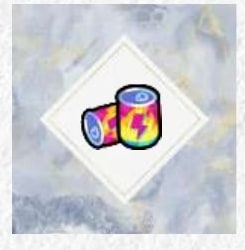
Attack energy for Grand Gold Rush. It can be accumulated beforehand and resets when the event ends.
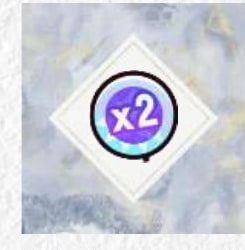
When the icon appears, save marbles and use them during the short double-candy window.
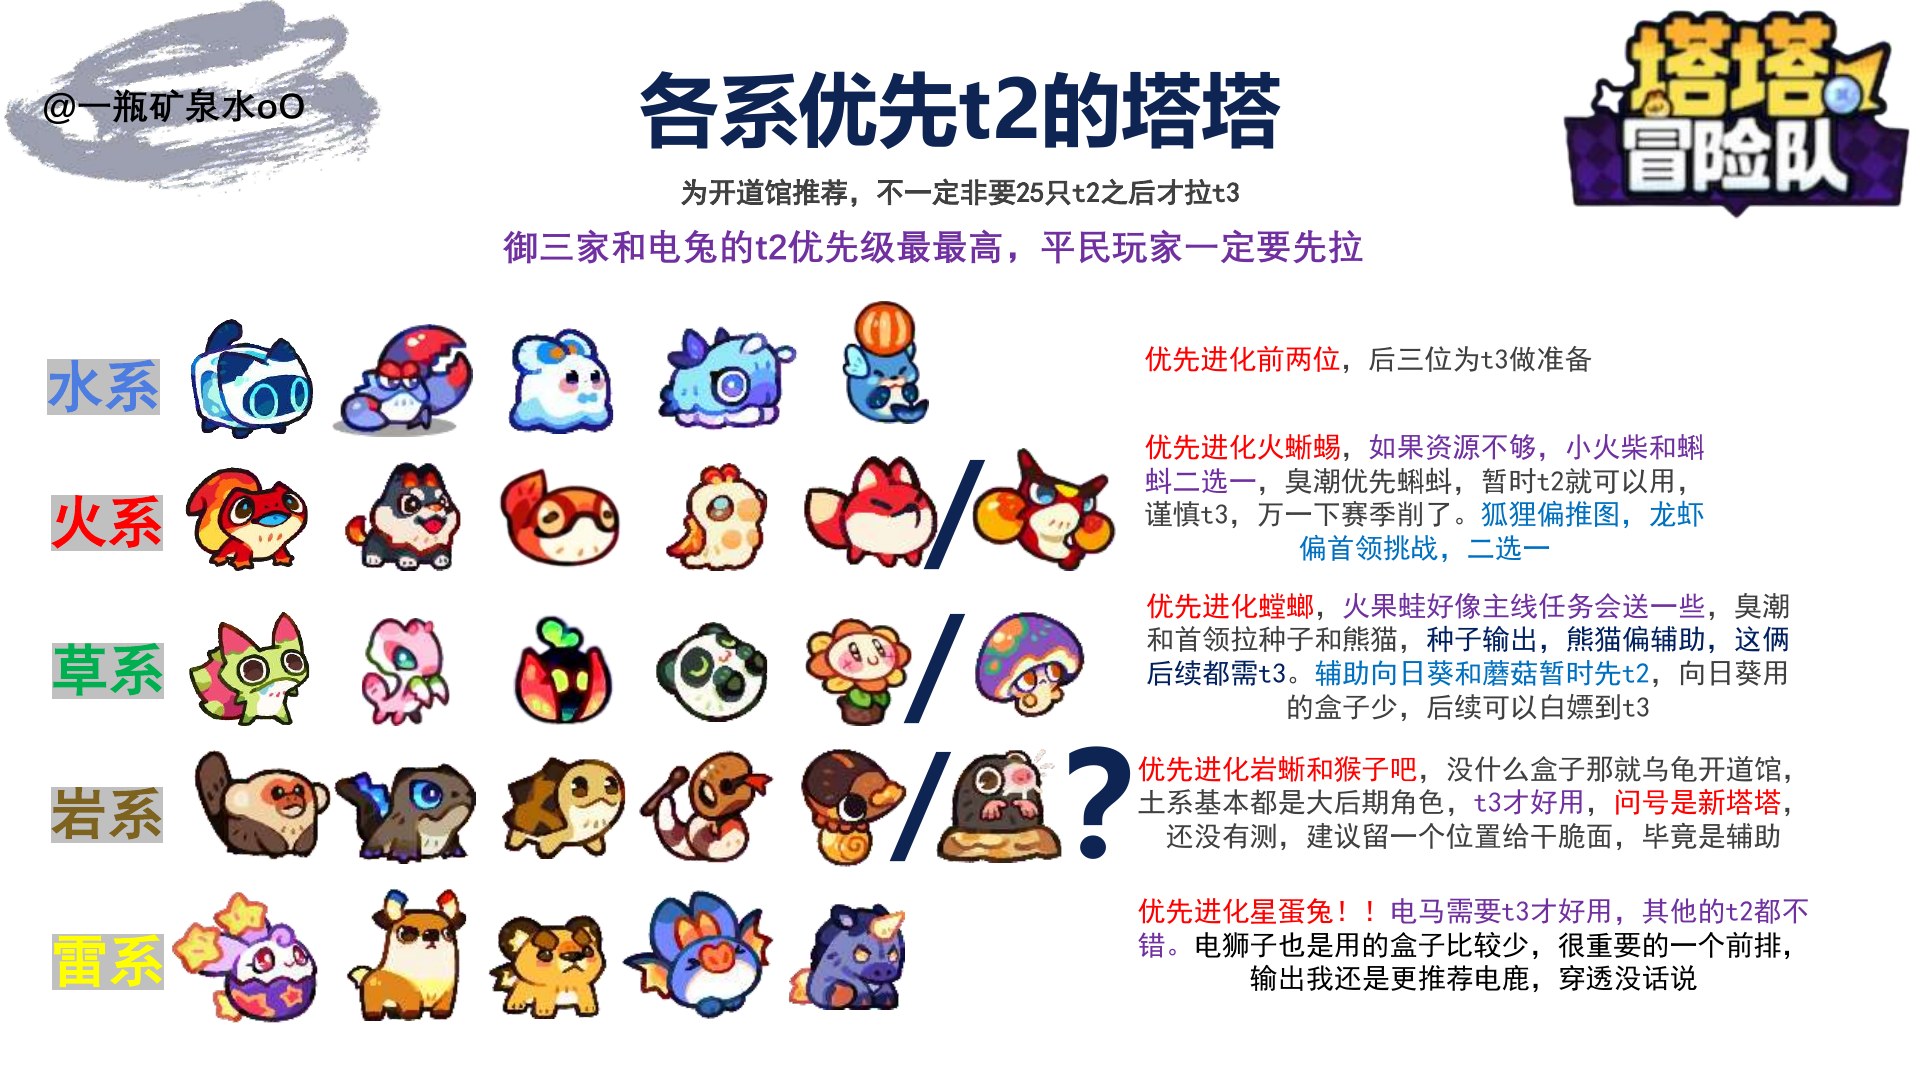
This order mainly supports Dojo progress; you do not need exactly 25 T2 units before starting T3. Prioritize the starter trio and Star Egg Rabbit.

Upgrade the first two first; the remaining three prepare for T3.

If resources are tight, choose Matchstick or Tadpole. Tadpole leans Horde, Fox leans stages, and Lobster leans Boss. Be cautious with Tadpole T3.

For Horde and Boss, build Seed for damage and Panda for support. Keep Sunflower and Mushroom at T2 first.

If boxes are scarce, Turtle can help open Dojo. Many Rock units are late-game; the new Tatari was untested, so keep a slot for support unit Crispy Noodles.

Electric Horse needs T3. Electric Lion is an important low-box frontline, while Electric Deer is the preferred damage option.
For free-to-play accounts, the starter trio still offers the best value. Main picks cover multiple modes; niche picks are better left to natural progression.
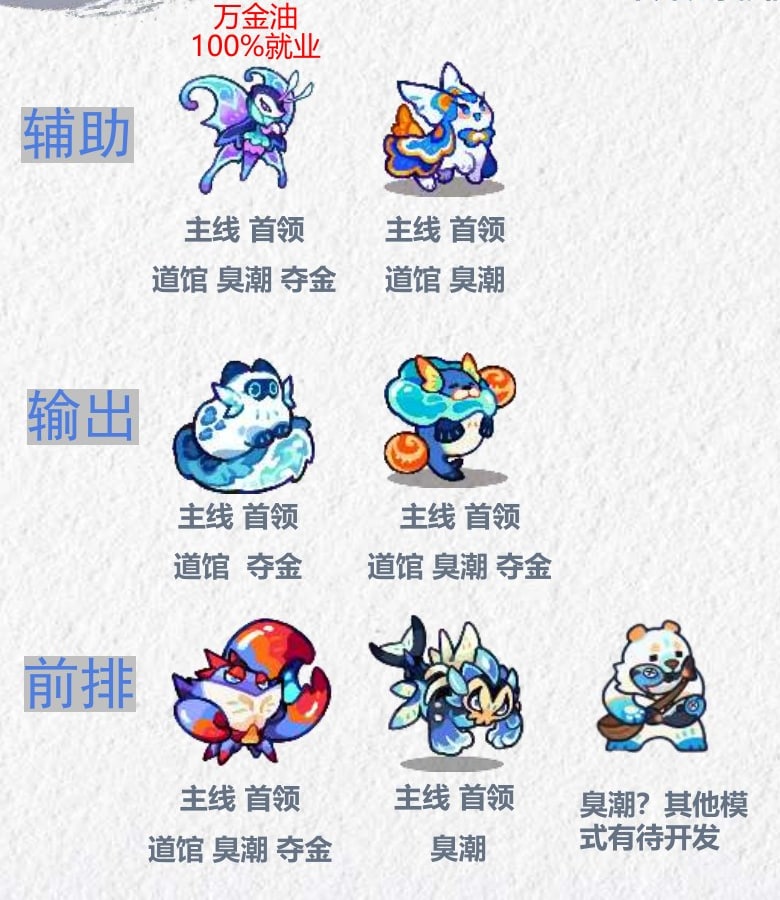
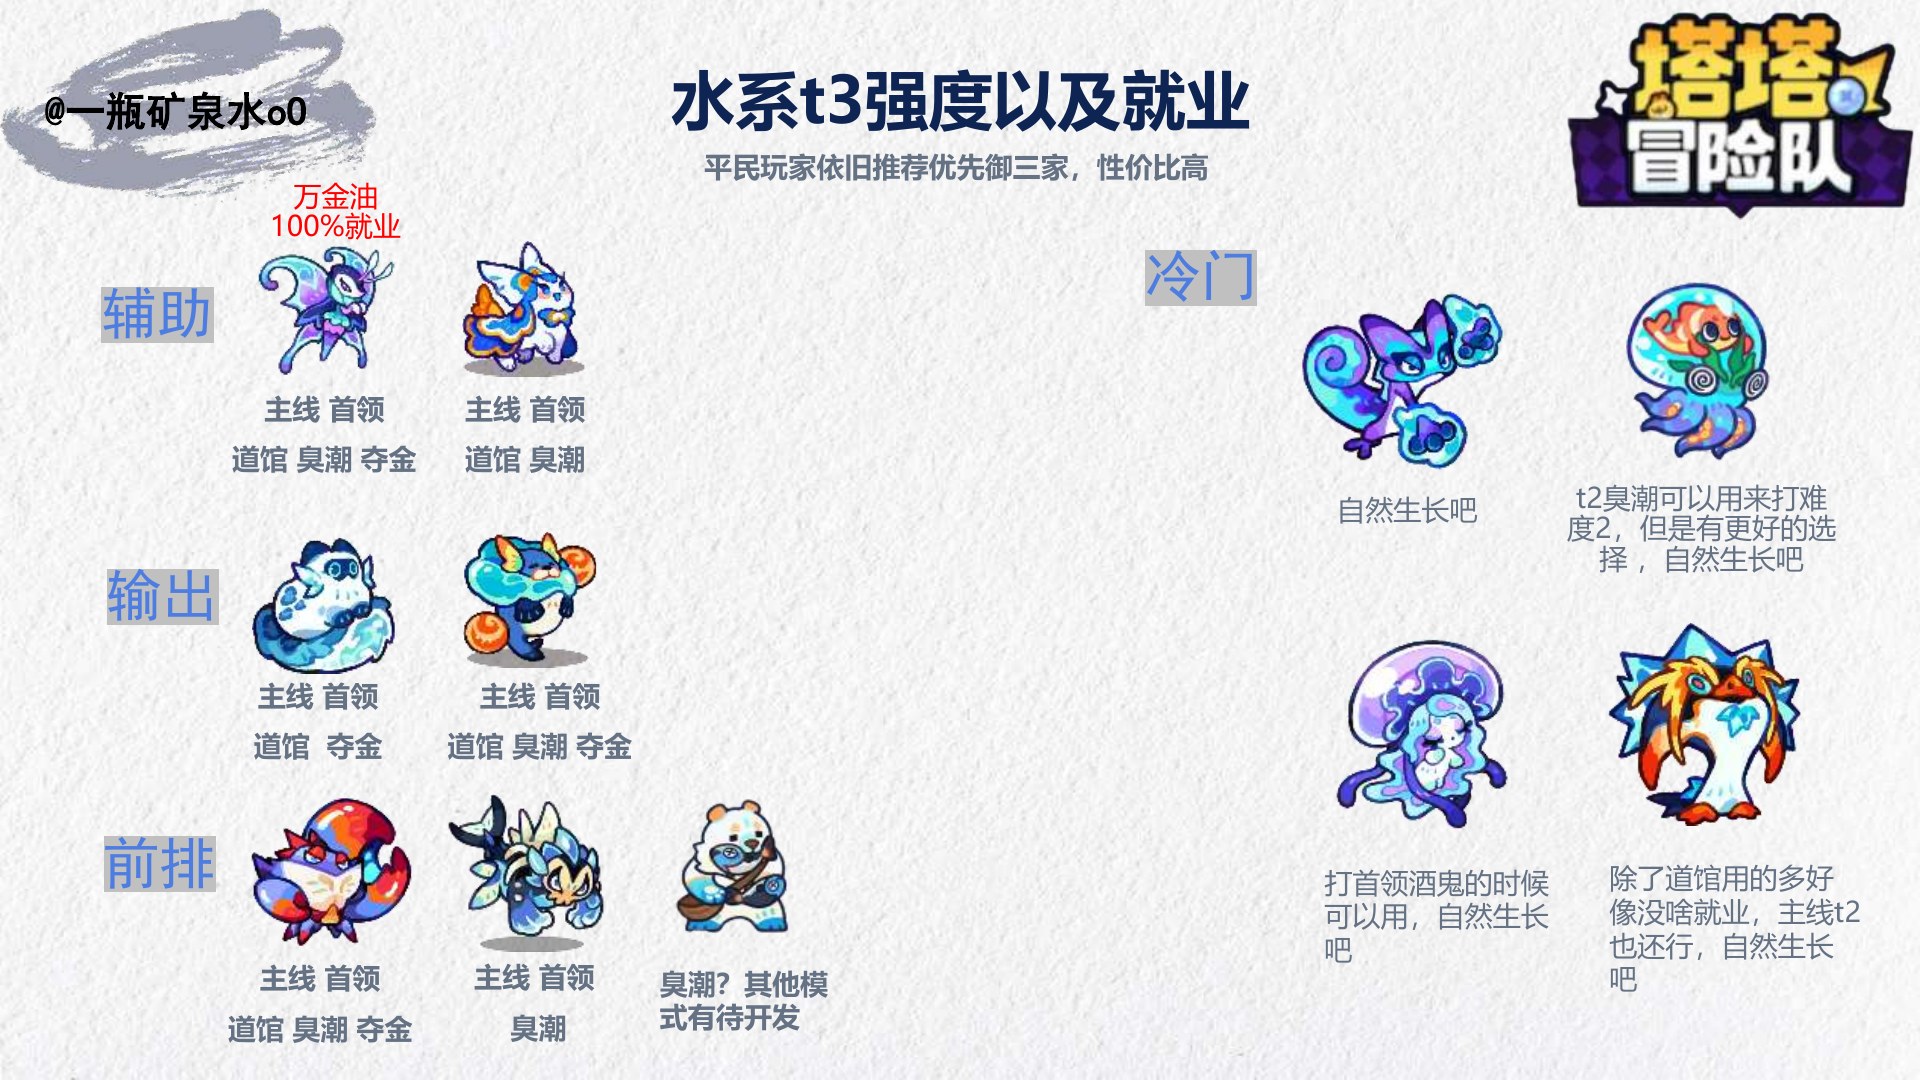
Two support picks cover Story, Boss, Dojo, and Horde; one also works in Gold Rush.
Both damage picks cover Story, Boss, and Dojo; one also covers Horde and Gold Rush.
The main frontline covers all modes; the third leans Horde, with other modes unproven.
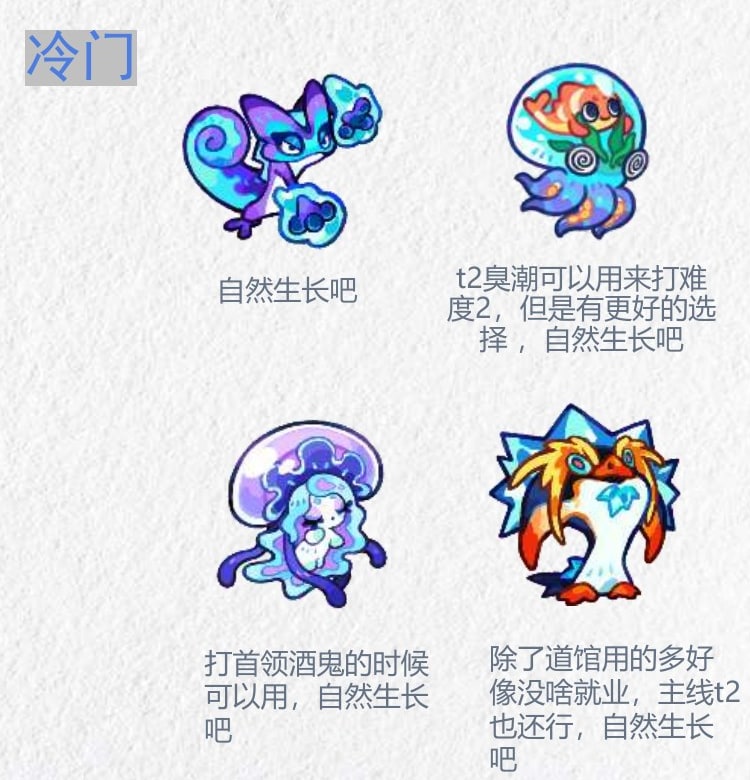
A T2 option can work in Horde D2 but has better alternatives. The Drunkard-boss counter and Dojo unit should grow naturally.
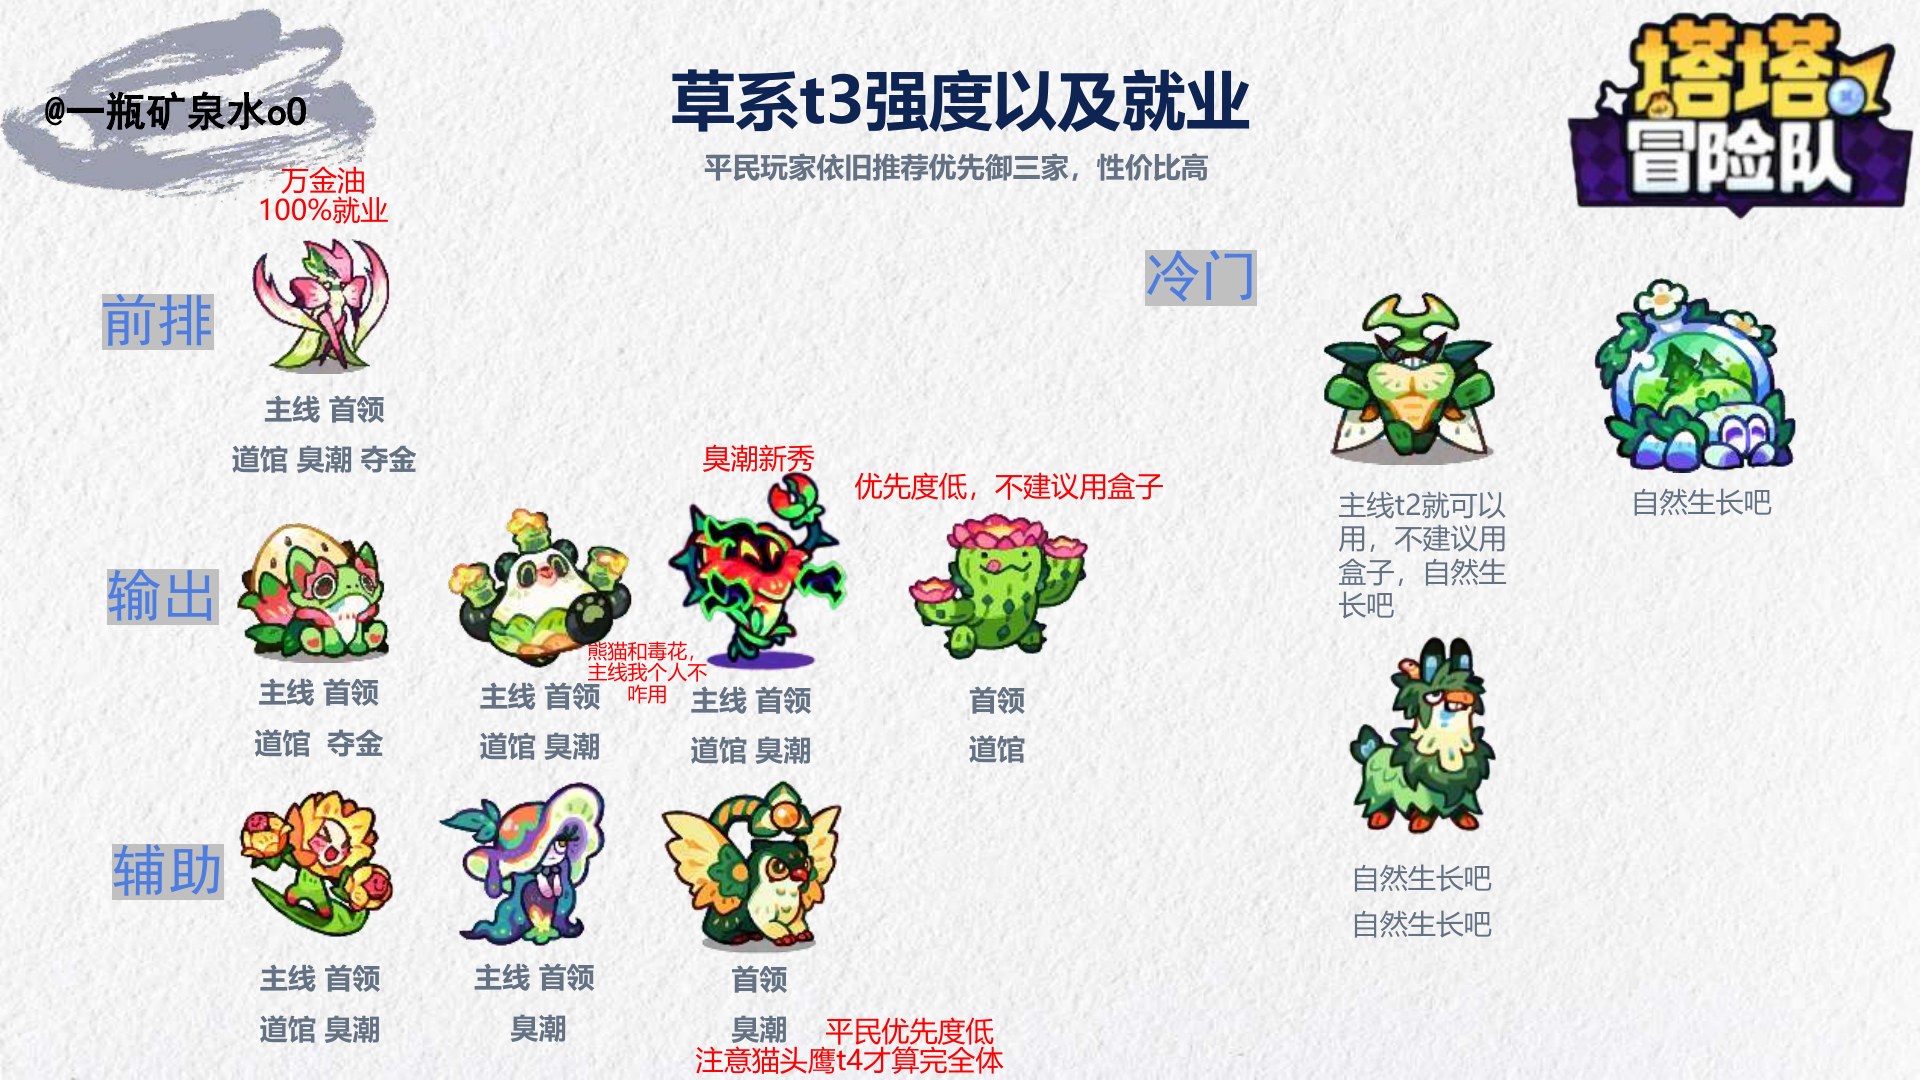
Grass has broad coverage, but niche picks and Owl call for conservative box investment.
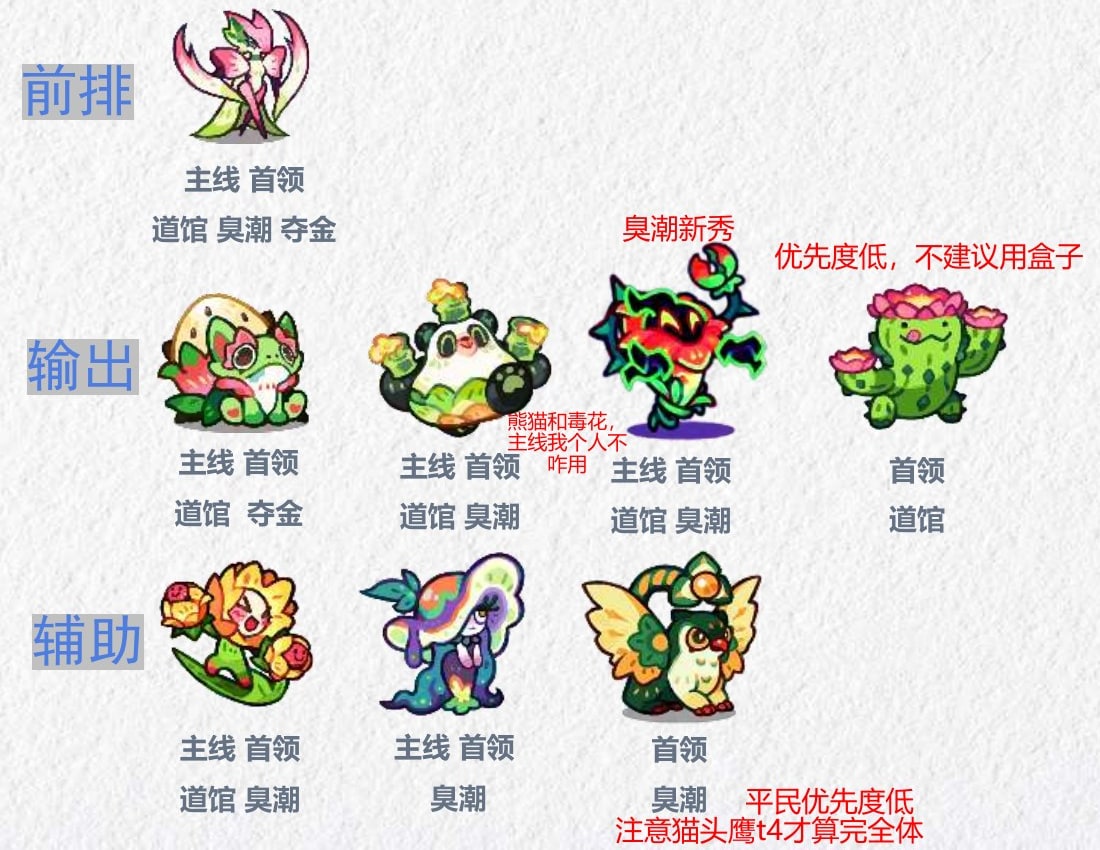
The core frontline covers Story, Boss, Dojo, Horde, and Gold Rush.
The main damage picks cover several modes; Poison Flower is a rising Horde pick.
Support covers Story, Boss, Dojo, and Horde. Owl is not complete until T4.
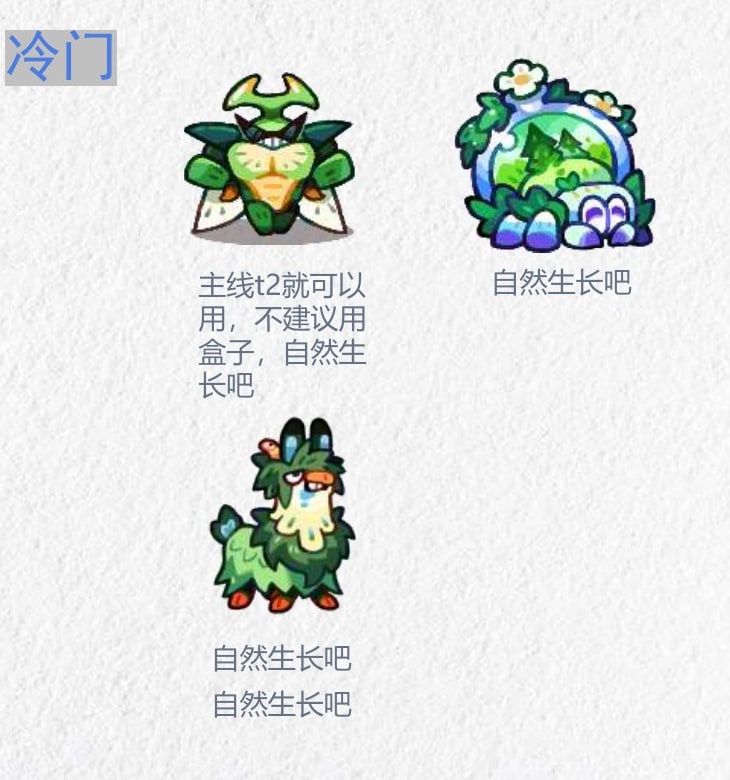
Some frontliners are sufficient at T2 for Story and are not worth boxes; other niche picks are low priority.
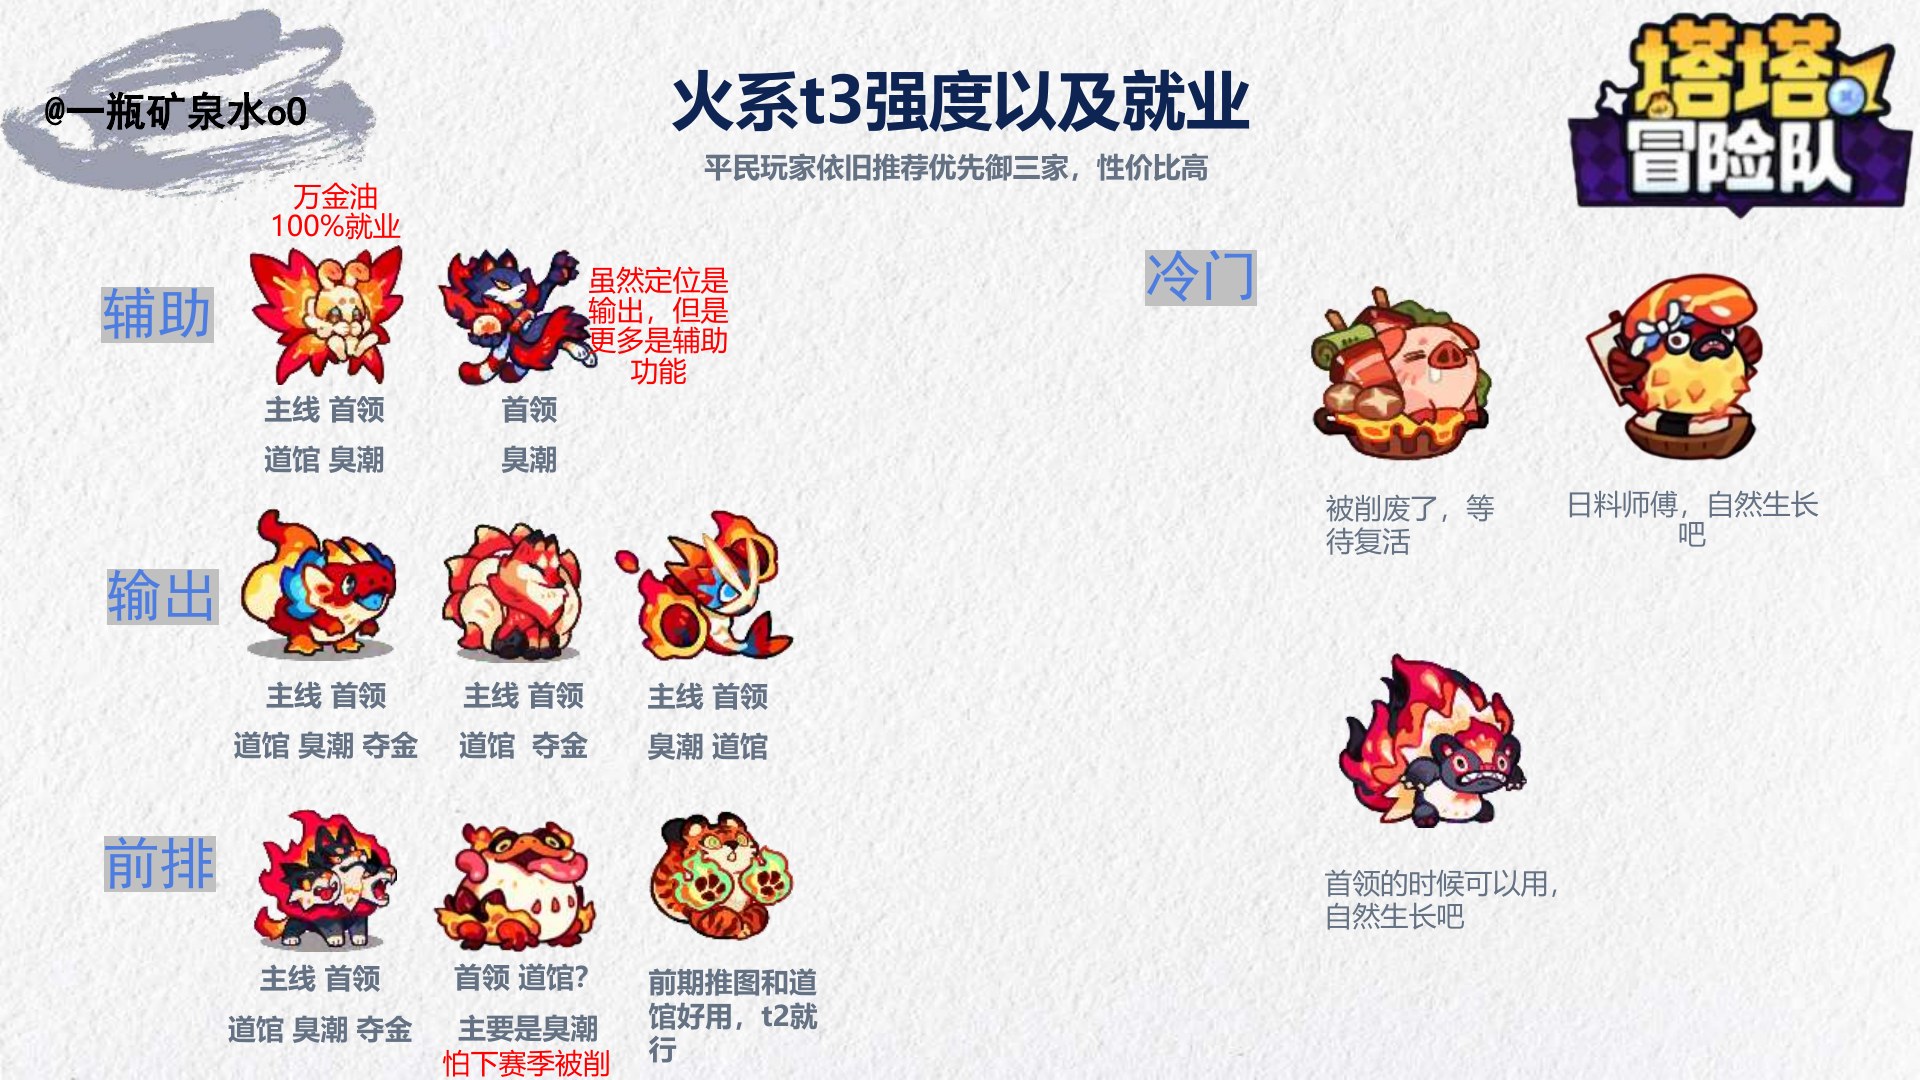
Fire combines reliable generalists, functional support, and version-risk picks.
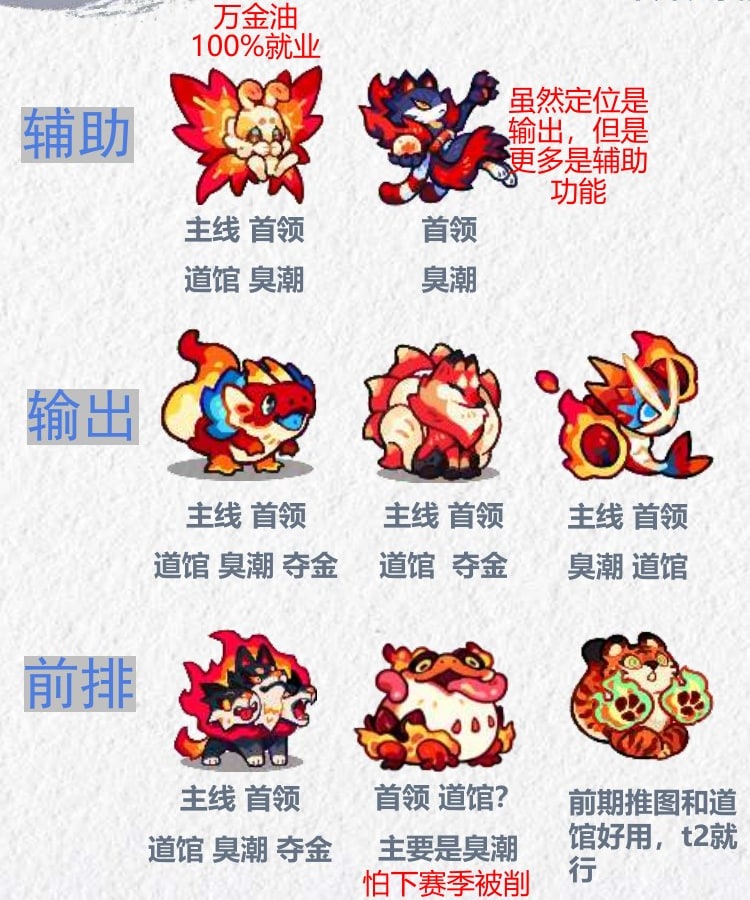
One unit is labeled damage but functions more as support across Story, Boss, Dojo, and Horde.
Three main damage picks cover different combinations of the five major modes.
The core frontline works across all modes; one carries a possible nerf risk next season.
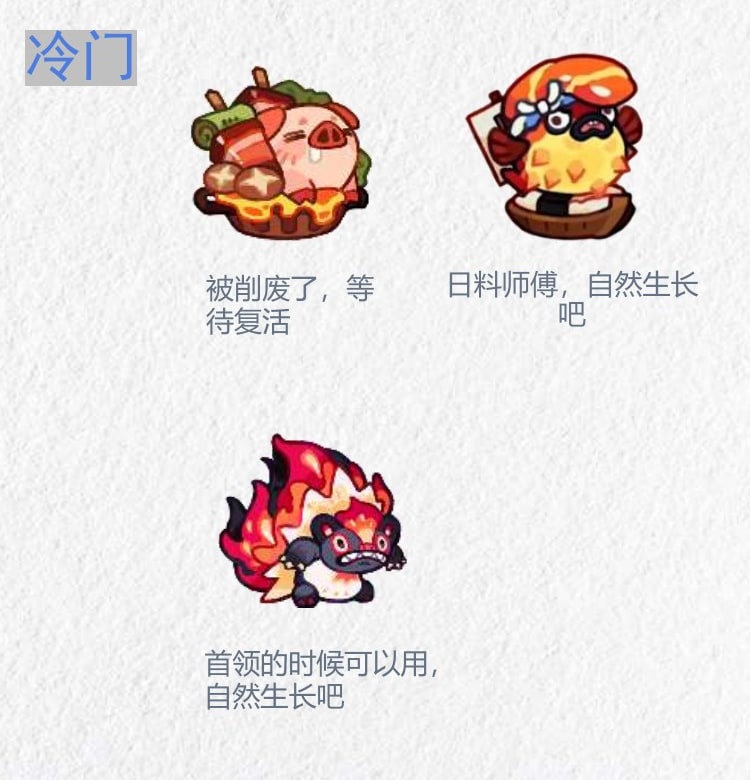
Some picks await a post-nerf comeback or have narrow Boss/Horde jobs; an early Story/Dojo frontline can stay at T2.
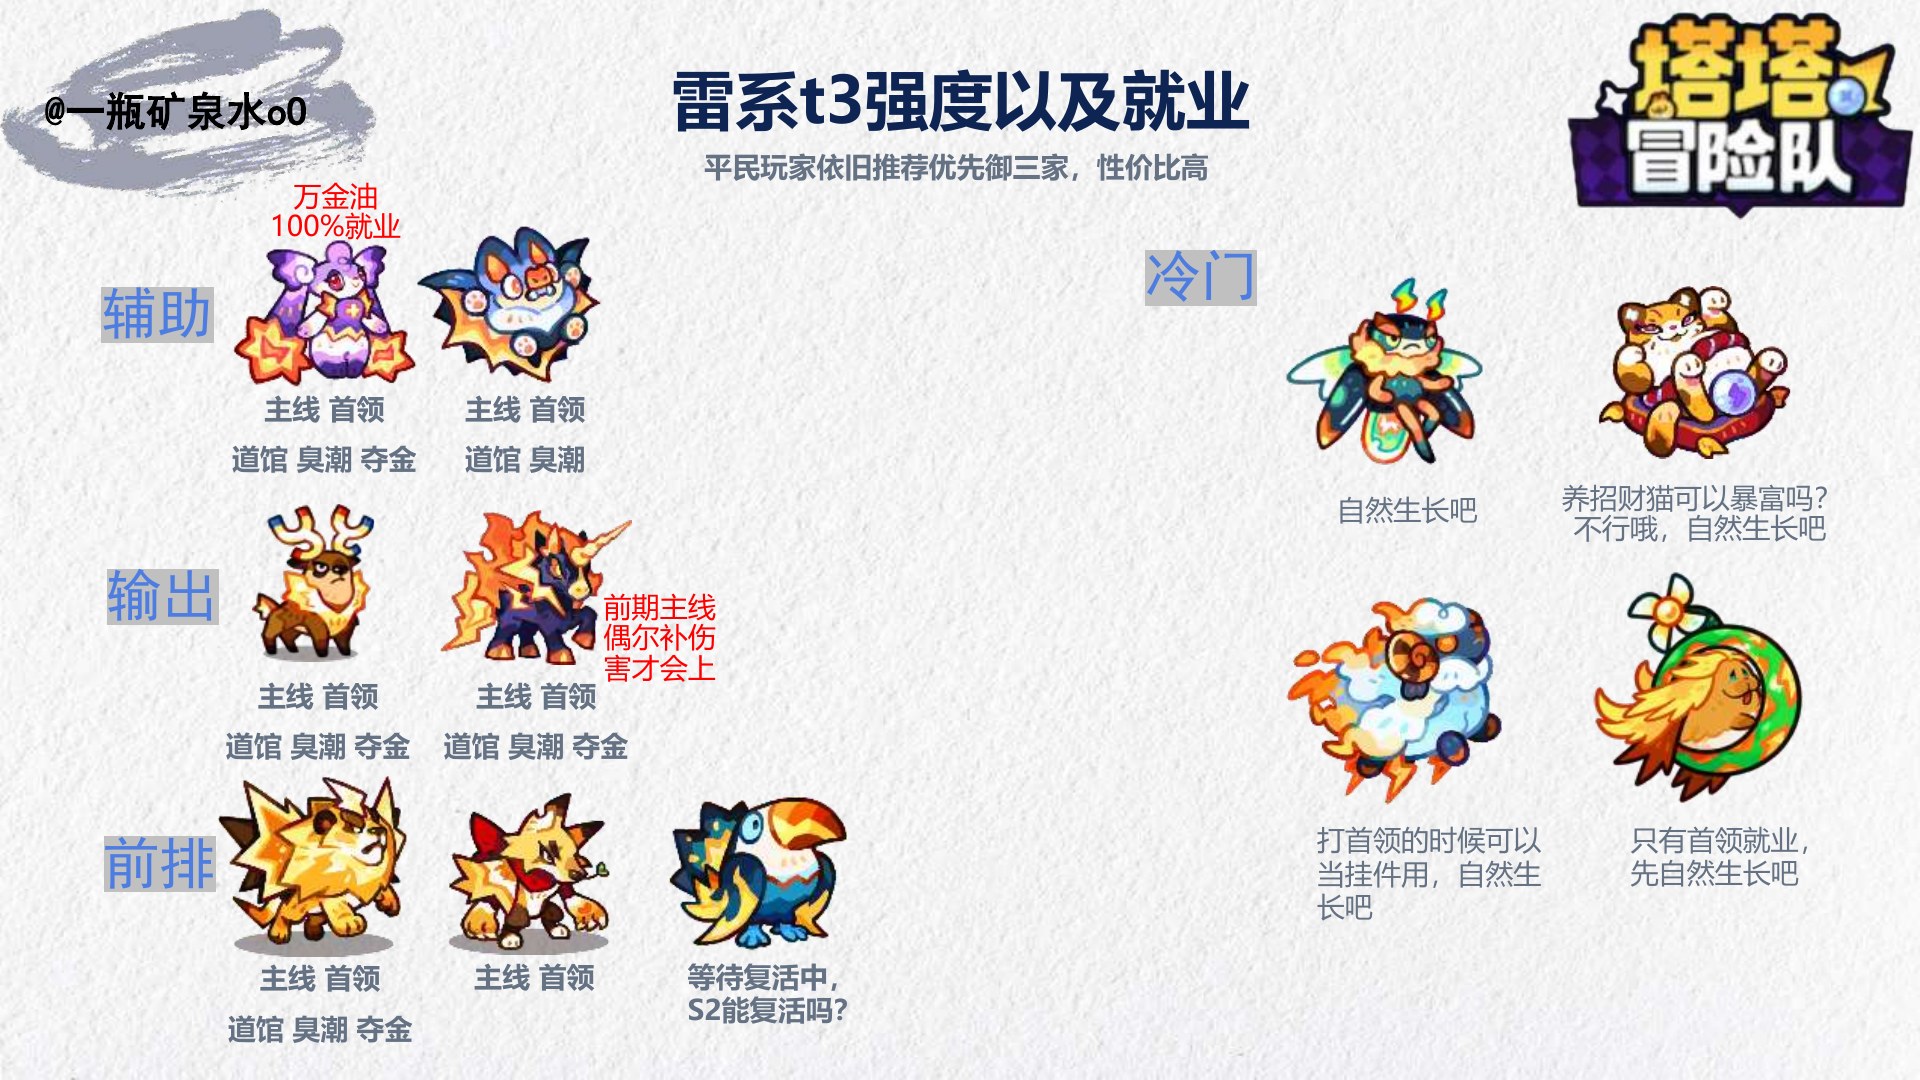
Electric has all-mode support, damage, and frontline picks, plus narrow Boss and damage-fill options.
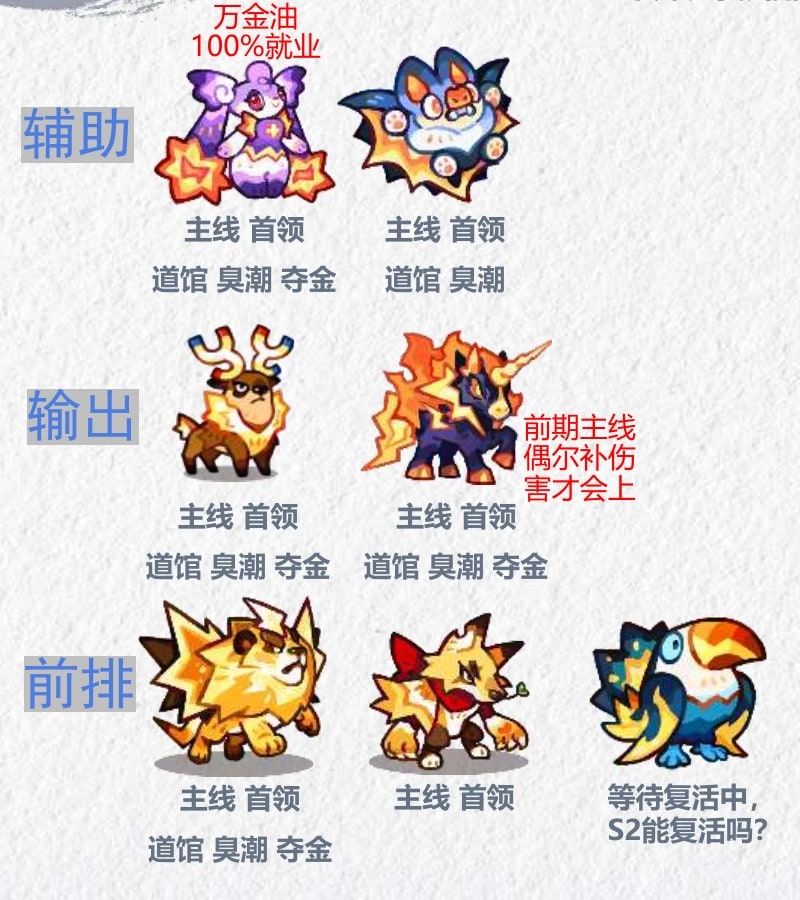
The core support covers all modes; the other covers Story, Boss, Dojo, and Horde.
The main damage options cover Story, Boss, Dojo, Horde, and Gold Rush.
The core frontline covers all major modes.
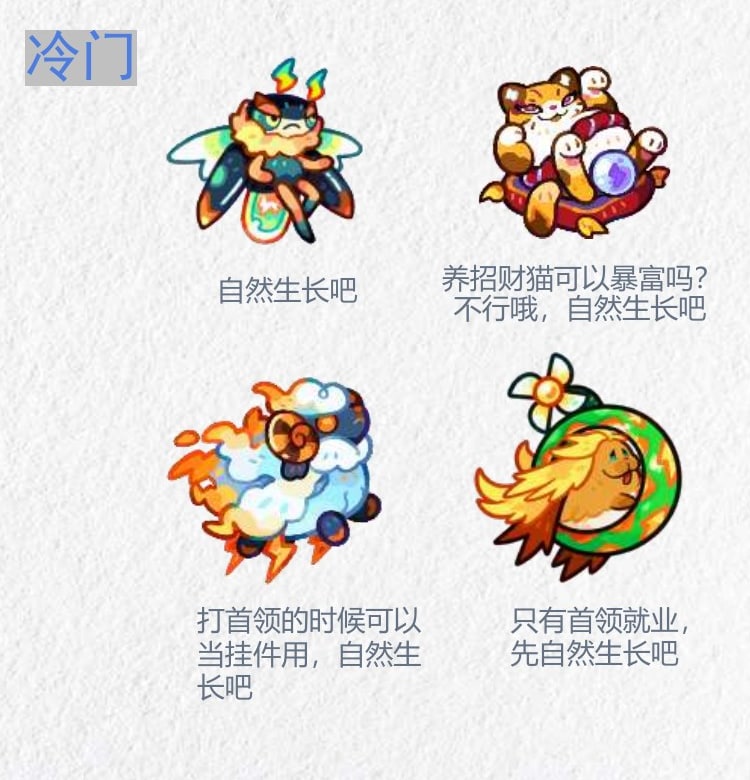
Lucky Cat will not make you rich. Other niche slots include early-Story damage, a Boss attachment, and a possible S2 comeback.
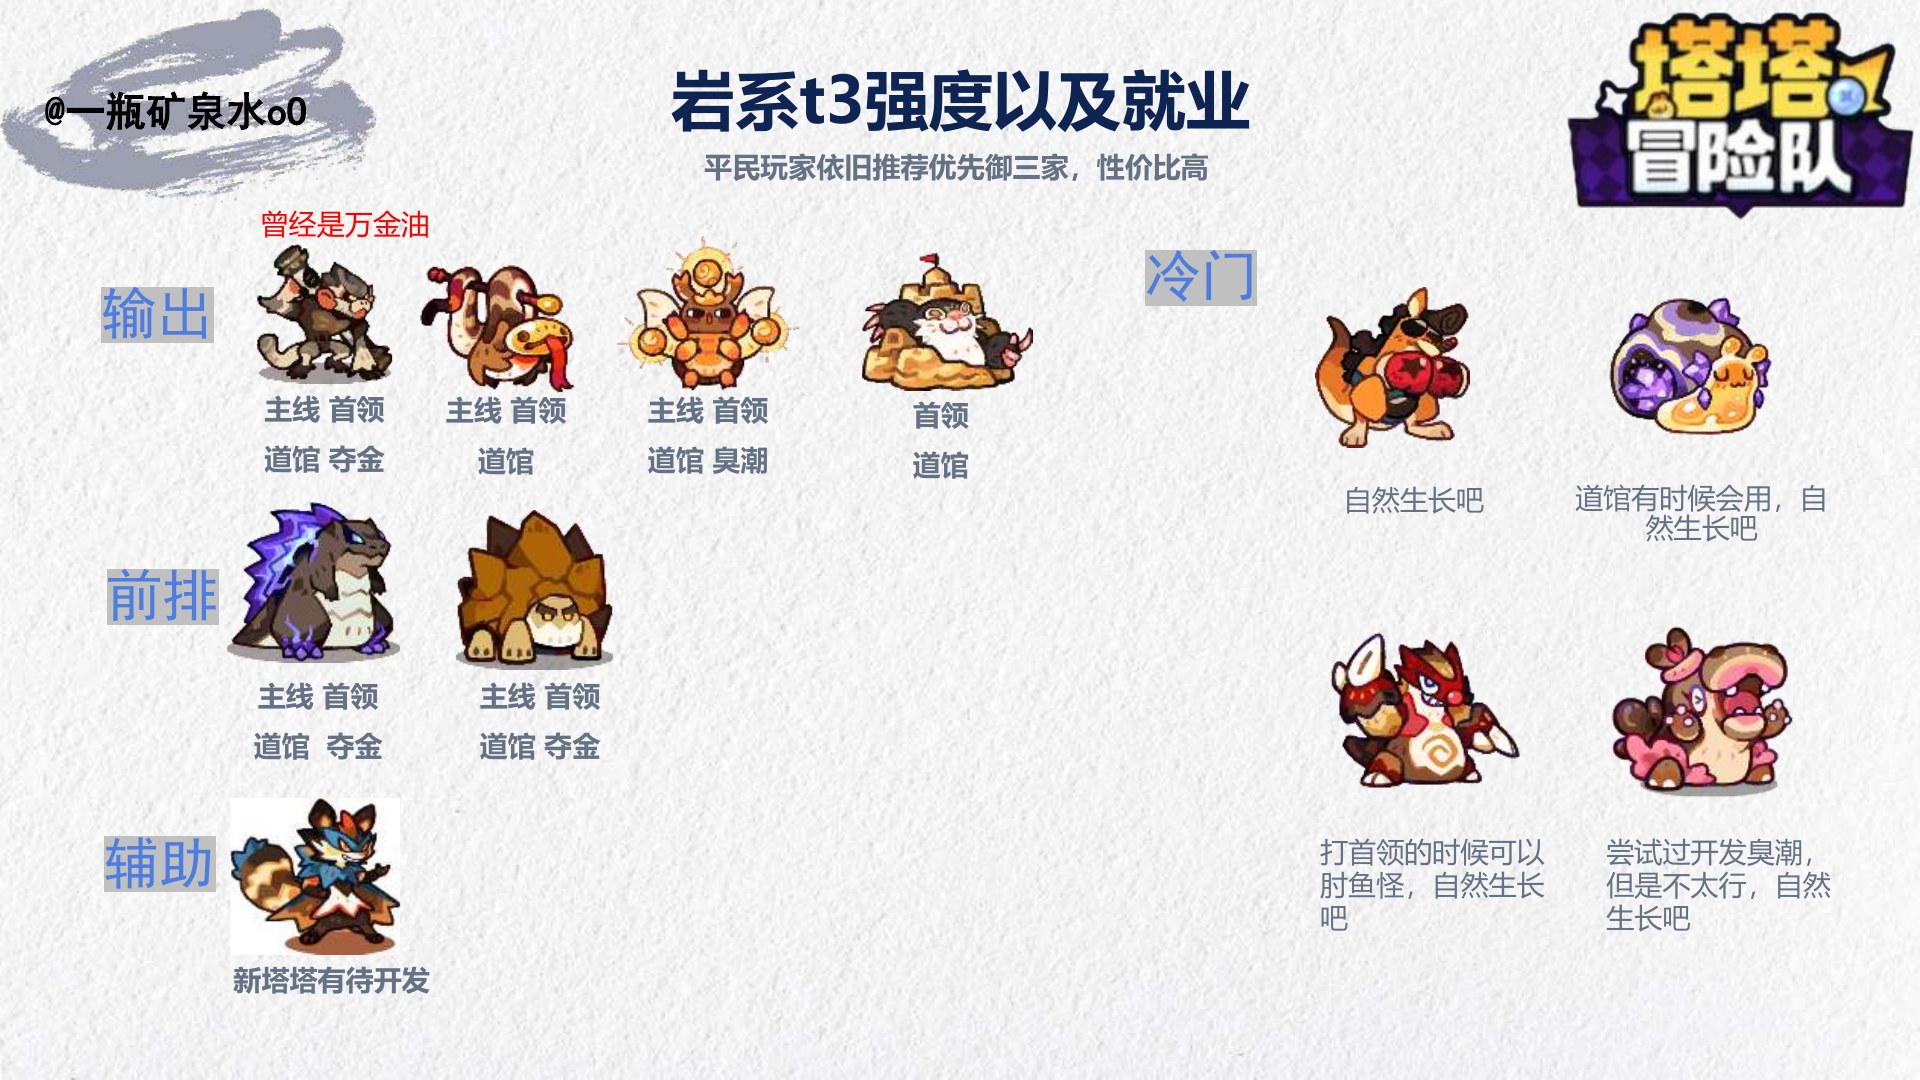
Rock includes a former generalist but trends late-game and mode-specific. Check the team gap before investing.
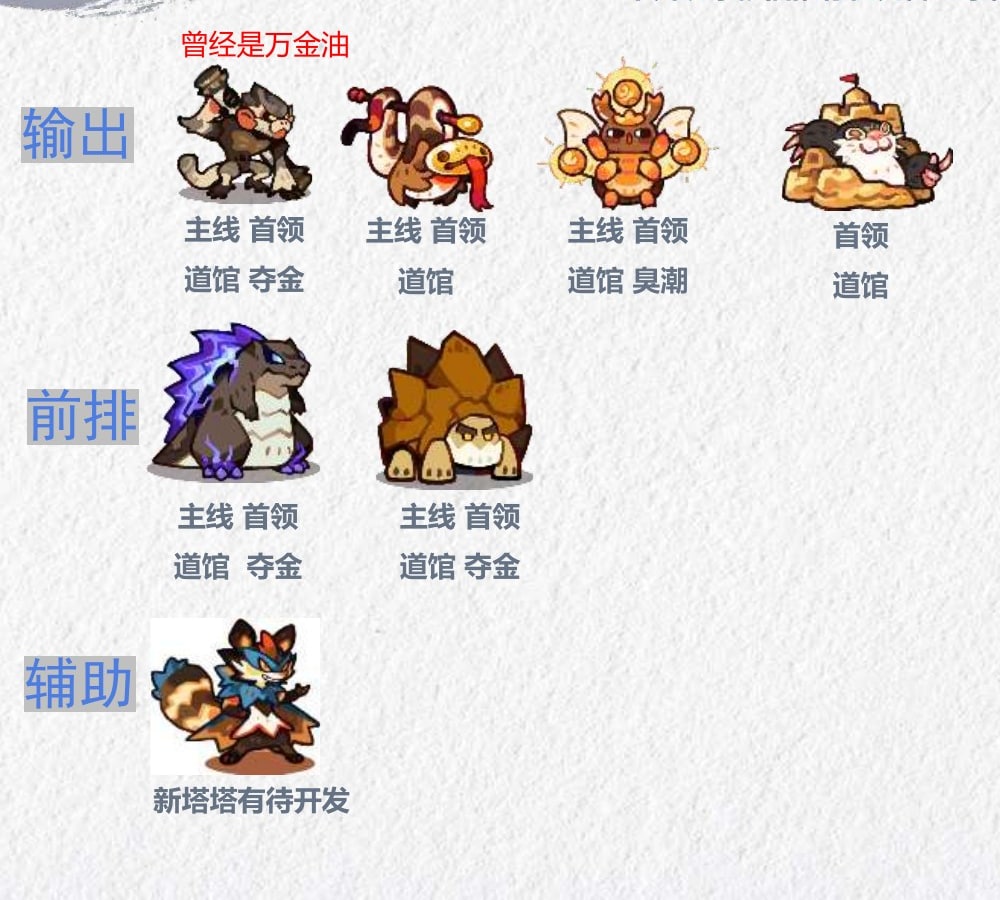
Damage picks cover different combinations of Story, Boss, Dojo, Horde, and Gold Rush; one was once a generalist.
Two core frontliners cover Story, Boss, Dojo, and Gold Rush.
Some support picks are mainly used for Boss.
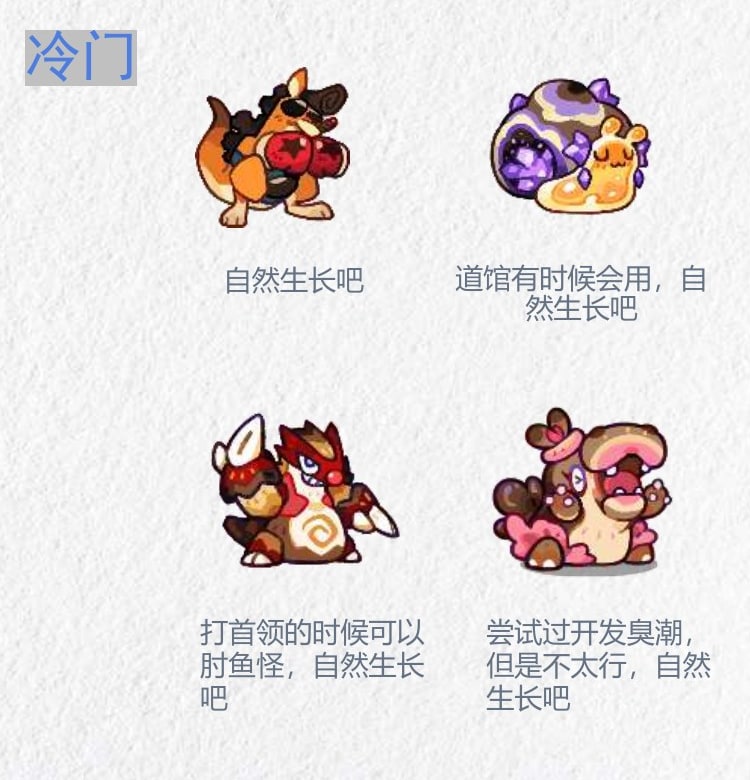
Some units appear only in Boss or occasional Dojo play; Horde experiments were limited and the new Tatari remained unproven.
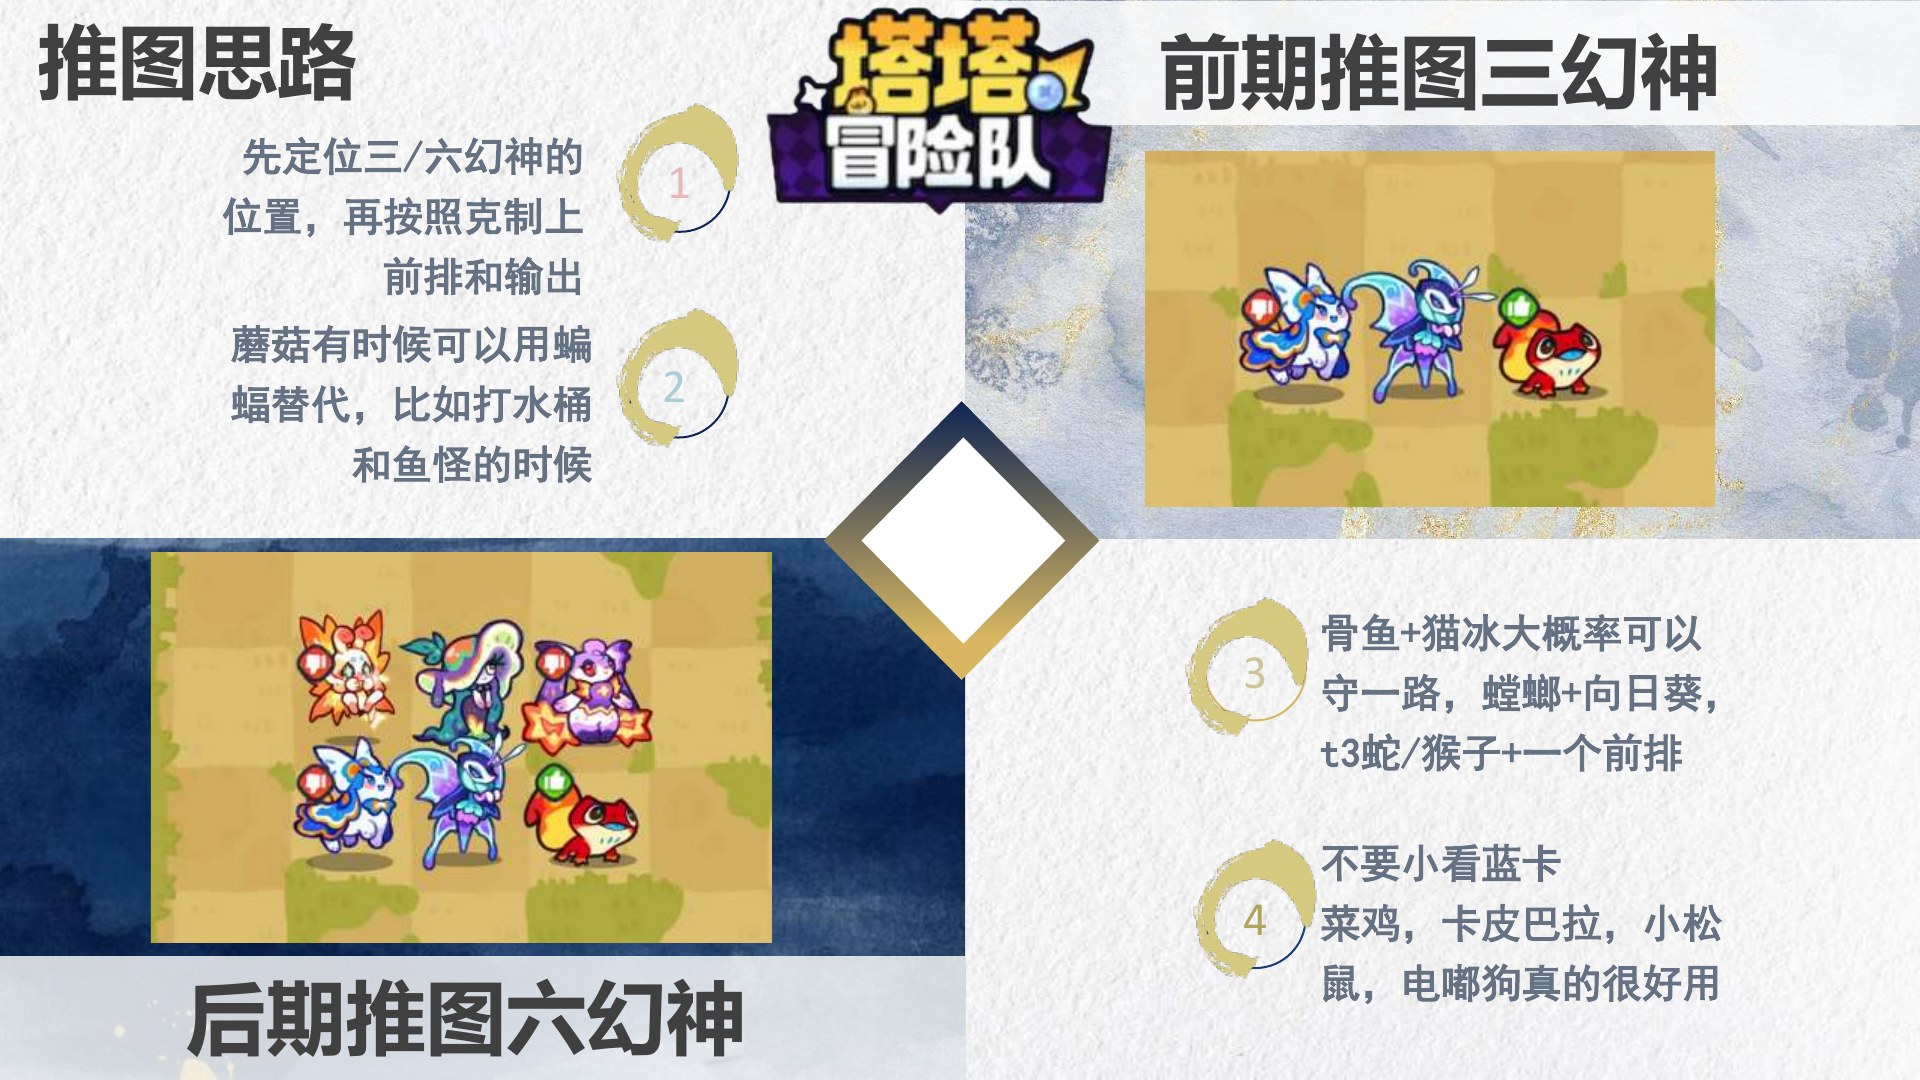
Build the skeleton first, then swap around counters and stage mechanics. Rarity is not the only answer—blue cards can perform reliable jobs.
Place the early three-core or late six-core units first, then add frontline and damage around counters.
Mushroom can sometimes be replaced by Bat, for example against Bucket and Fish monsters.
Bonefish + Cat Ice can usually hold one lane. Use Mantis + Sunflower, or a T3 Snake/Monkey plus a frontline, for the other.
Chicken, Capybara, Squirrel, and Electric Doodle Dog can all be useful.
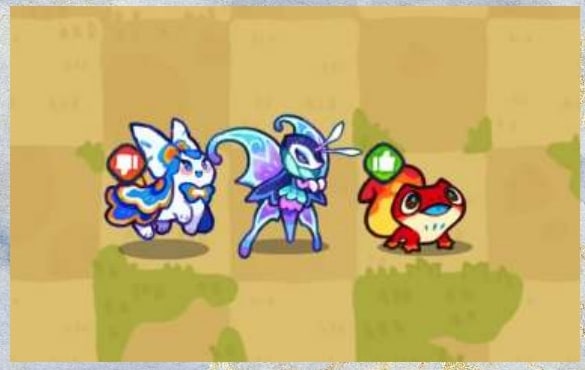
The early formation from the revised PDF.
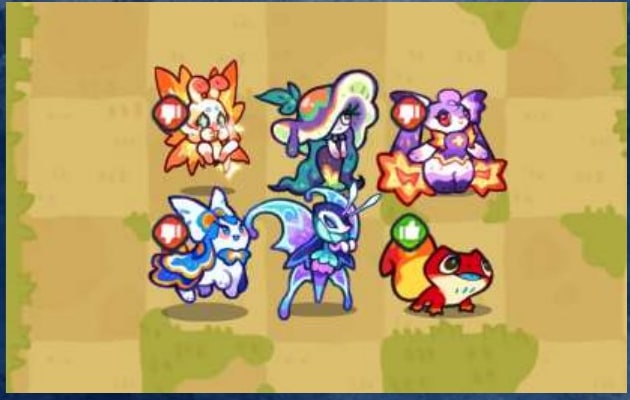
The late formation from the revised PDF.
A free companion for players: look up data, read guides, build teams, and manage card exchanges in one place.
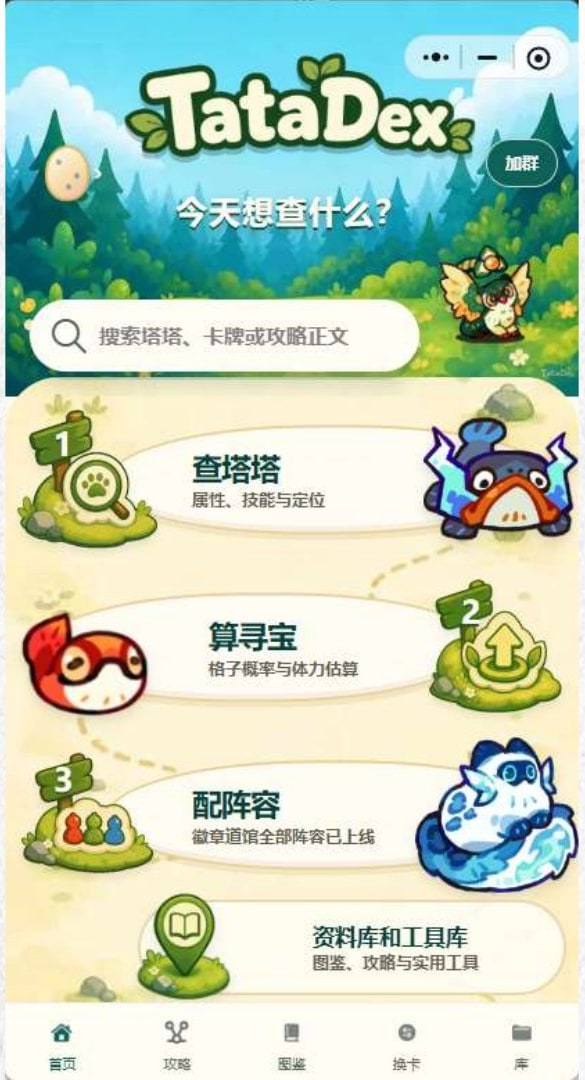
Full action sets and skill video animations.
Player guides and stage formations that make clear strategies easier to find.
Card exchange, team builder, treasure calculator, redeem codes, and more.
Tatari eggs, official-Tatari pairing, and the fusion of new wild Tataris.
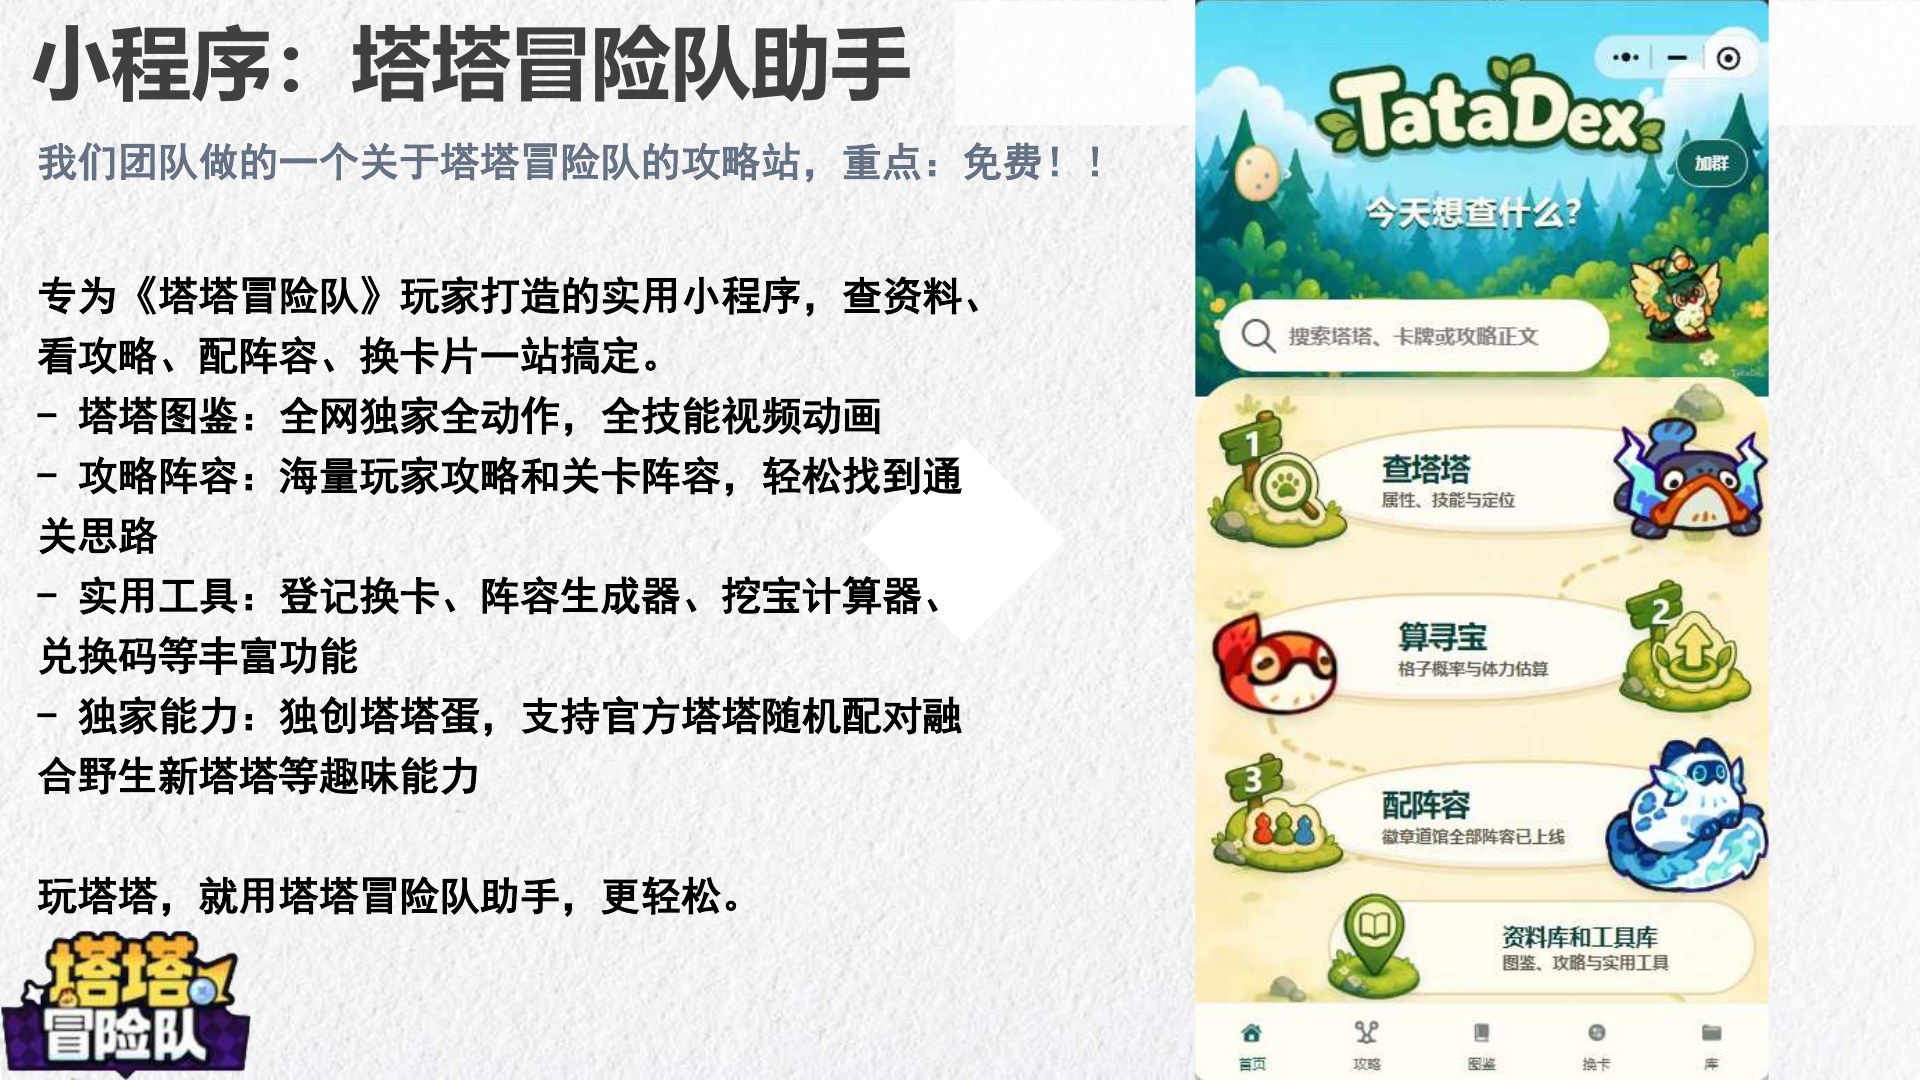
一瓶矿泉水oO uses the same name across platforms. Once verification is complete, the byline will link directly to the verified creator profile.

This guide is exclusively licensed by “一瓶矿泉水oO” to TataDex · tatadex.org. It is a structured, translated reflow of the revised PDF and preserves the author’s opinions and attribution.